Monday, April 28, 2008

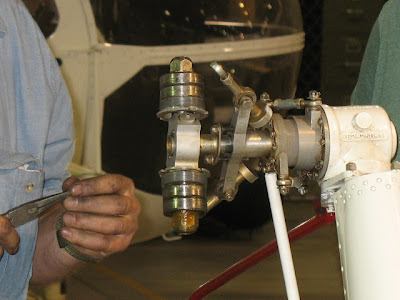
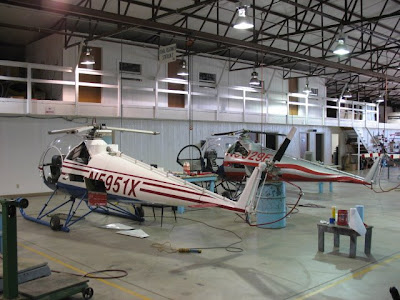
More photos from factory school


Factory School


I attended the Brantly factory April 21-25 for a basic maintenance class of the B2b.

We had 5 students; myself, Fred, Charlie, Jerry and Anders. We were all A&P's, Anders and myself are actively employed as such while the others are using them mainly for their own aircraft. It was a great group of guys and I really enjoyed the course. Chris, our instructor, did a terrrific job and set up the course with a great mix of theory and practical sessions. Overall I'd say it was one of my favorite maintenence classes I've attended. The factory was even brave enough to let us work on two of their own ships. We were able to watch Anders get checked out in one of the ships a student of his had bought. While he was getting the checkout from Gary, a local instructor, the rest of us got a lesson in running up a Brantly sans outboard blades using Fred's machine. Thanks Fred!!

On Friday the guys at the factory provided lunch with some fantastic BBQ'd brisket cooked by Doyle. We then we had a little informal presentation of certificates and the transfer of ownership of the new helicopter to Gary and said goodbye as he and Anders departed for home.

It was great to see things picking up at the factory with all the lights on and people working making parts for inventory and getting things geared up to begin producing ships again. I'm looking forward to returning to Vernon to attend the level 2 class sometime soon.

Thursday, March 27, 2008

You must be kidding me!?!


Someone please tell me that this is not the way they wired this from the factory? Hrrmmpph, I would have expected better...

Ah, the wiring...

So, now the part of the disassembly that caused me the most head scratching - the instrument panel and wiring.

My original thought was to end up with an IFR trainer. I believed then and still do that the Brantly would make a great little IFR trainer. Ah, but how to do it? I originally thought I would use a Dynon D-10A as an HSI, especially now that Dynon has their neat, new HS34 HSI expansion module. The HS34 would allow me to use nav inputs from an SL30 as well as my Garmin 496 which would easily cover the bases for the IFR requirements as well as allowing for a little more modern equipment added to the mix. Ah, but then I heard about Aspen avionics new EFIS. It seemed like just the ticket; 2.2 lbs, slide in replacement for both the artificial horizon and HSI/DG. Alas after talking with the Aspen rep at the local aviation expo he told me they had determined it would not work in a helicopter at this point. They are working with Robinson to correct that but it will be some time yet. Well, that points me back to the Dynon...

So what does this have to do with the instrument panel and wiring I hear you ask?

1. I had bought a new panel from Brantly to allow me the extra clearance from the six pack to the upper three 2 1/8 holes for mounting the Aspen EFIS. Out with the old, in with the new and at less than $200 another reason to love the Brantly!

2. I needed to know what extra wiring to lay into the harness for future modification to make this an instrument trainer as at this time the budget does not allow me to install all the goodies I would like to at this time.

My final determination is that I will provide for the installation of an SL30 radio, Dynon D10A with HS34 expansion module, GTX327 transponder and either a 12 volt attitude indicator or a second Dynon D10A. I will be installing the wiring in anticipation of installing this equipment in the future so that all that will be required is to simply do the mounting of the equipment and plug it in.

Bag and Tag!


A big part of the disassembly is the bag and tag method of keeping track of parts. I've been the unwilling victim of other mechanics omitting this step and it's guaranteed to engender the discovery of new four letter words when putting things back together. Of course it helps to take lots and lots of pictures. Ain't technology grand?

Trailer mount


So the helicopter showed up mounted to a trailer using a pretty ingenious method and I thought I'd take a quick break and show a few pictures of how it was done. Kudos to Bob Kallenberg for coming up with this idea. Home Depot Aviation Supply!

Ok, a quick caviat, I'm new to this whole thing and for the life of me can't quite figure out how to manage the pictures so they don't end up out of order. Also it would be great to put the writing at the top and have the pictures below. Anyone know how to do this?!?